×
- Live Chat
- 1-888-301-9478

My Garage
My Account
Cart
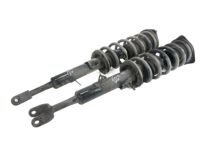
Genuine Infiniti G35 Shock Absorber
Suspension Shock Absorber- Select Vehicle by Model
- Select Vehicle by VIN
Select Vehicle by Model
orMake
Model
Year
Select Vehicle by VIN
For the most accurate results, select vehicle by your VIN (Vehicle Identification Number).
55 Shock Absorbers found
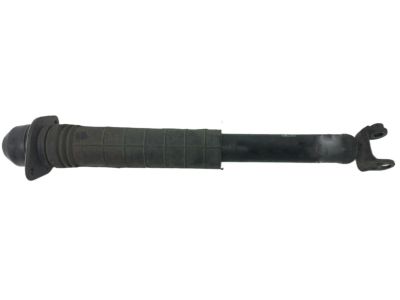
Infiniti G35 ABSORBER Kit-Shock,Rear
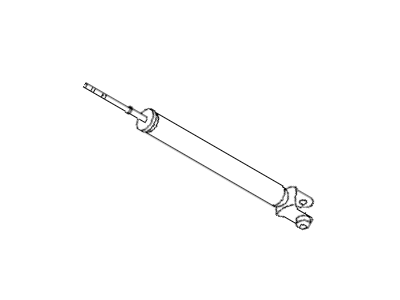
Part Number: E6210-CM40B$171.19 MSRP: $262.47You Save: $91.28 (35%)Ships in 1-3 Business DaysInfiniti G35 ABSORBER Kit-Shock,Rear
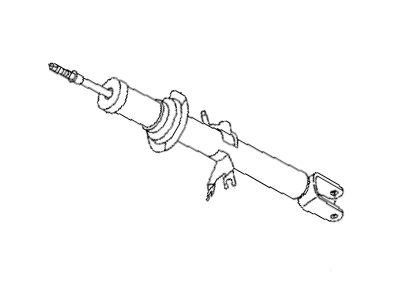
Part Number: E6210-CM40C$184.41 MSRP: $250.90You Save: $66.49 (27%)Ships in 1-3 Business DaysInfiniti G35 ABSORBER Kit-Shock,Front
Part Number: E6111-CM40B$236.02 MSRP: $348.95You Save: $112.93 (33%)Ships in 1-2 Business DaysInfiniti G35 ABSORBER Kit-Shock,Rear
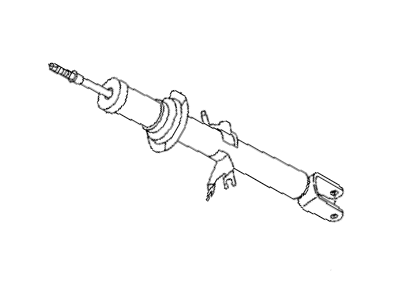
Part Number: E6210-JU42A$183.78 MSRP: $271.72You Save: $87.94 (33%)Ships in 1-2 Business DaysInfiniti G35 ABSORBER Kit-Shock,Front
Part Number: E6110-CM40B$236.02 MSRP: $348.95You Save: $112.93 (33%)Ships in 1-2 Business DaysInfiniti G35 ABSORBER Kit-Shock,Front
Part Number: E6110-JK01B$261.73 MSRP: $356.10You Save: $94.37 (27%)Ships in 1-3 Business DaysInfiniti G35 ABSORBER Kit-Shock,Rear
Part Number: 56210-AM828$169.12 MSRP: $230.10You Save: $60.98 (27%)Ships in 1-3 Business DaysInfiniti G35 ABSORBER Kit-Shock,Rear
Part Number: 56210-AM926$175.97 MSRP: $239.42You Save: $63.45 (27%)Ships in 1-3 Business DaysInfiniti G35 ABSORBER Kit-Shock,Front
Part Number: 56110-AM693$261.61 MSRP: $355.93You Save: $94.32 (27%)Ships in 1-3 Business DaysInfiniti G35 ABSORBER Kit-Shock,Front
Part Number: E6110-AM614$261.61 MSRP: $355.93You Save: $94.32 (27%)Ships in 1-3 Business DaysInfiniti G35 ABSORBER Kit - Shock, Rear
Part Number: E6210-JK50B$207.77 MSRP: $282.68You Save: $74.91 (27%)Ships in 1-3 Business DaysInfiniti G35 ABSORBER Kit-Shock,Rear
Part Number: E6210-JK01A$202.49 MSRP: $275.50You Save: $73.01 (27%)Ships in 1-3 Business DaysInfiniti G35 ABSORBER Kit-Shock,Front
Part Number: 56110-AM886$261.61 MSRP: $355.93You Save: $94.32 (27%)Ships in 1-3 Business DaysInfiniti G35 ABSORBER Kit-Shock,Front
Part Number: 56110-AM887$268.15 MSRP: $364.83You Save: $96.68 (27%)Ships in 1-3 Business DaysInfiniti G35 ABSORBER Kit-Shock,Rear
Part Number: 56210-CD026$210.62 MSRP: $325.45You Save: $114.83 (36%)Ships in 1-3 Business DaysInfiniti G35 ABSORBER Kit - Shock, Rear
Part Number: 56210-CD726$155.99 MSRP: $239.15You Save: $83.16 (35%)Ships in 1-3 Business DaysInfiniti G35 ABSORBER Kit-Shock,Rear
Part Number: 56210-AC525$162.15 MSRP: $223.35You Save: $61.20 (28%)Ships in 1-2 Business DaysInfiniti G35 ABSORBER Kit-Shock,Rear
Part Number: 56210-AL885$166.61 MSRP: $229.48You Save: $62.87 (28%)Ships in 1-2 Business DaysInfiniti G35 ABSORBER Kit - Shock, Rear
Part Number: 56210-AM028$169.12 MSRP: $230.10You Save: $60.98 (27%)Ships in 1-3 Business DaysInfiniti G35 ABSORBER Kit-Shock,Rear
Part Number: 56210-AM085$169.12 MSRP: $230.10You Save: $60.98 (27%)Ships in 1-3 Business Days
| Page 1 of 3 |Next >
1-20 of 55 Results
Infiniti G35 Shock Absorber
Wondering where to find exceptional quality and economically-priced OEM Infiniti G35 Shock Absorber? You are at the proper online store. We offer all genuine Infiniti G35 Shock Absorber with a manufacturer's warranty at unbeatable prices. Order now and you can get brand-new parts at your door step with our fast shipping times.
Infiniti G35 Shock Absorber Parts Questions & Experts Answers
- Q: How to replace front Shock Absorber/Coil Spring Assemblies in Infiniti G35?A: These vehicles are equipped with shock absorber/coil spring assemblies. It is possible to replace the shocks or springs individually, but the unit will have to be disassembled by a qualified repair shop with the proper equipment. This will add considerable cost to the project. You can compare the cost of replacing the complete assemblies yourself to the cost of replacing individual components (with the help of a shop). For removal: Loosen the front wheel lug nuts. If you're working on an AWD model, also loosen the driveaxle/hub nut. Raise the front of the vehicle and support it securely on jackstands. Remove the front wheels. Remove the lower engine splash shield. Remove the ABS wheel speed sensor harness and brake hose bracket from the shock absorber. On 2007 and later G35 Sedan models, detach the stabilizer bar link from the Control Arm. On 2007 and later G35 Sedan models with AWD, remove the front driveaxle and separate the upper control arm from the steering knuckle. Remove the lower mounting fasteners attaching the shock absorber to the lower control arm. Mark the relationship of the shock absorber to the shock tower, remove the upper mounting fasteners, then remove the shock absorber assembly. On 350Z models, remove the shock tower bar (above the shock absorbers in the engine compartment) to remove the shock absorber upper mounting fasteners. Inspect the shock absorber for leaking fluid, dents, cracks, and other damage. Inspect the coil spring for chips and cracks which could cause premature failure. Inspect the spring seats for hardness and general deterioration. If any of the components of the assembly are worn or damaged, have the unit serviced by a qualified repair shop or replace it. For installation: Installation is the reverse of removal. Tighten the mounting fasteners to the specified torque. Raise the lower control arm with a floor jack to simulate normal ride height before tightening the shock absorber lower mounting fasteners. Tighten the wheel lug nuts to the specified torque.


