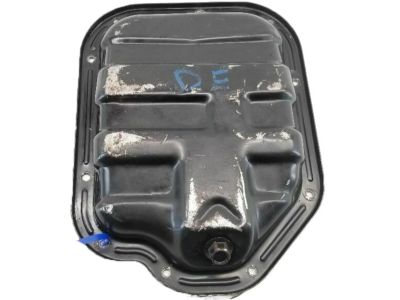
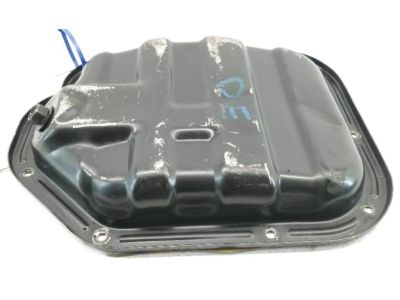
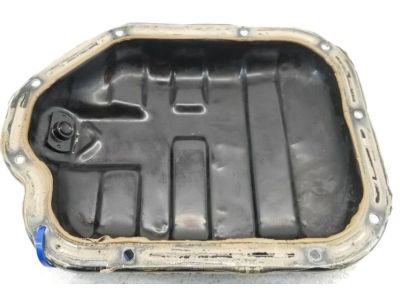
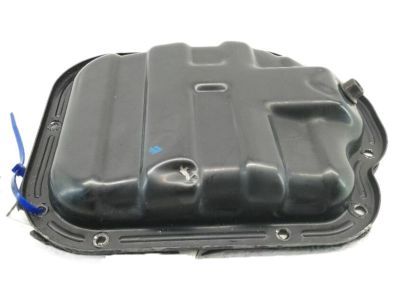
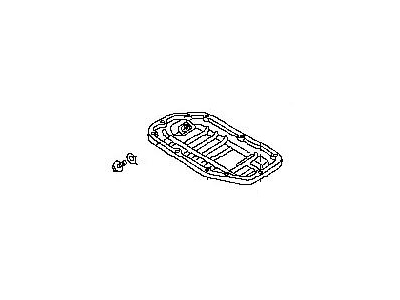
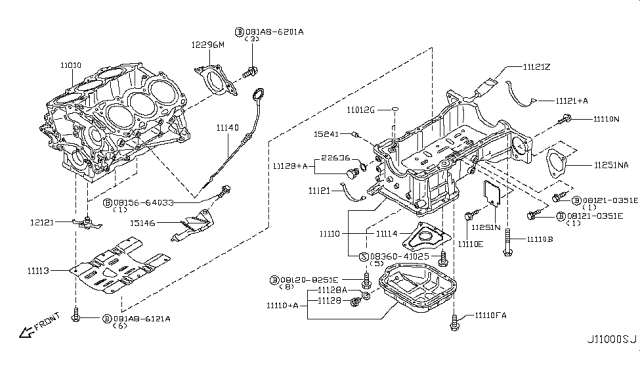
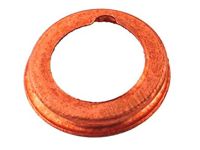
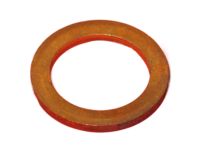
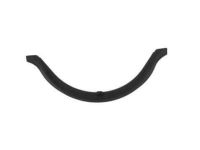
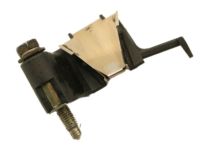
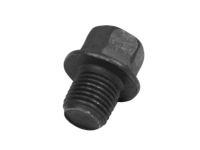
Disconnect the cable from the negative terminal of the battery, set the parking brake, and block the rear wheels. Raise the front of the vehicle and support it securely on jackstands. Remove the splash shields under the engine if equipped, drain the engine oil, and remove the oil filter. Remove the mounting bolts for the lower steel pan, then carefully pry between the upper and lower pans to separate and remove the lower pan. To remove the upper aluminum pan, drain the engine coolant, disconnect the hoses, and remove the oil cooler. On AWD models, remove the drive axles, noting that the left drive axle goes through a tube sealed with O-rings in the upper oil pan. Remove the engine oil dipstick and the dipstick tube, then remove the starter. Raise the engine slightly with a hoist from above and remove the front mounts, followed by the suspension front crossmember and steering gear to provide clearance for upper oil pan removal. If equipped with an automatic transmission, unbolt the clamps securing the transmission fluid lines and set them aside without disconnecting. Remove the bolts securing the aluminum oil pan to the transmission, then remove the remaining upper aluminum pan mounting bolts in the reverse of the tightening sequence. To loosen the upper oil pan from the block, wedge a flat head screwdriver or thin prybar into the notch on the side of the oil pan, being careful not to damage the sealing surfaces. Use a scraper to remove all traces of old gasket material and sealant from the upper aluminum section of the oil pan, the lower steel pan, and the engine block, cleaning the mating surfaces with brake cleaner while avoiding scratches or gouges. Ensure the threaded bolt holes in the block and aluminum section of the oil pan are clean, then apply a bead of ATV sealant to the ends of the timing chain cover gasket and the rear oil seal retainer gasket, placing the gaskets in position on the oil pan and applying sealant around the upper aluminum oil pan flange. Install new O-rings in the engine block and the oil pump body, carefully position the upper aluminum section of the oil pan on the engine block, and install the bolts, tightening them in three or four steps to the recommended torque. Install the transmission mounting bolts that go through the upper oil pan, check the lower steel oil pan flange for distortion, and if necessary, flatten and restore the gasket surface. Apply a bead of ATV sealant around the steel oil pan flange and install the steel oil pan, tightening the fasteners in several steps to the torque. The remainder of the installation follows the reverse order of removal, ensuring to install a new oil filter and waiting at least one hour before adding oil.
Posted by InfinitiPartsDeal Specialist 
