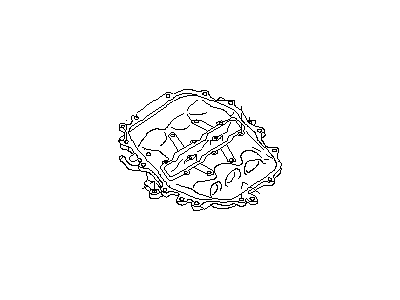
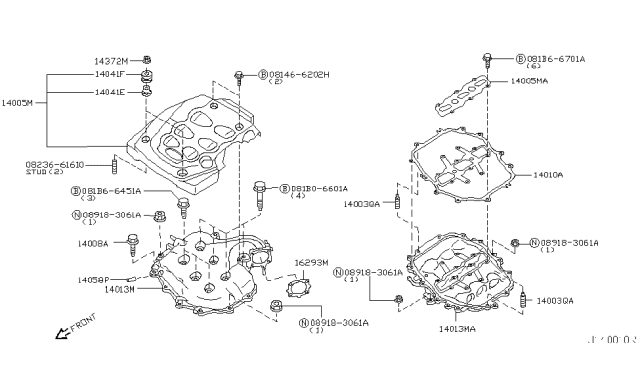
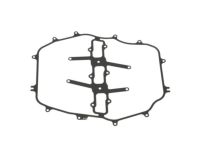
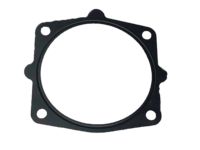
On the covered models, disconnecting the electrical connector at the throttle body and later reconnecting it will cause the engine management system to require two relearning procedures. To avoid having to perform this procedure during removal or installation of the plenum, unbolt the throttle body from the plenum with the connector in place and set the throttle body aside carefully. Begin by relieving the fuel pressure and disconnecting the cable from the negative terminal of the battery. Remove the air intake duct and the engine cover, then label and disconnect the hoses and harnesses attached to the plenum, including unbolting the throttle body and setting it aside, pinching off and disconnecting the throttle body coolant hoses, unbolting and setting aside the EVAP control solenoid, and disconnecting the PCV hose. All 2003 through 2006 models and 2007 G35 Coupe models have a two-piece plenum with a single throttle body, while 2007 G35 Sedan, 350Z, and all 2008 models have a one-piece plenum with two throttle bodies. For the earlier models, loosen the upper intake plenum fasteners in reverse order of the tightening sequence and remove the upper plenum, taking care not to damage the rubber gasket. Remove the lower plenum bolts in reverse order of the tightening sequence, clean the mounting surfaces of the intake manifold and the plenums with lacquer thinner, and install a new gasket on the intake manifold before positioning the lower plenum. Align the metal plate over the lower plenum, install the fasteners, and tighten them in the proper sequence to the specified torque. Install the new gasket on the lower plenum with the marks facing forward, then install the upper plenum onto the lower plenum and tighten the bolts in the proper sequence to the specified torque. The remainder of the installation is the reverse of removal. For all other models, loosen the intake plenum fasteners in reverse order of the tightening sequence and remove the plenum, clean the underside of the plenum and the intake manifold surface of old gasket material, then install a new gasket on the intake manifold and tighten the bolts in the proper sequence to the specified torque, with the remainder of the installation being the reverse of the removal procedure. To remove the intake manifold, first remove the intake plenum(s), label and detach any remaining hoses that would interfere with the removal of the lower intake manifold, and then remove the fuel rail and injectors from the lower intake manifold. Make several match marks on the manifold and the cylinder heads to confirm alignment of the ports during assembly, loosen the manifold mounting bolts/nuts in 1/4-turn increments until they can be removed by hand in reverse order of the tightening sequence, and be cautious not to pry between the manifold and the heads to avoid damaging the gasket sealing surfaces. Use a rubber hammer and a block of wood to break the seal, then carefully use a scraper to remove all traces of old gasket material and sealant from the manifold and cylinder heads, cleaning the mating surfaces with lacquer thinner or acetone. Install new gaskets, position the lower manifold on the engine, ensuring alignment over the studs in the cylinder heads, and install the nuts while aligning the match marks made during removal. Following the recommended tightening sequence, tighten the nuts/bolts in several steps to the specified torque, with the remainder of the installation being the reverse of the removal procedure. Finally, run the engine and check for fuel, vacuum, and coolant leaks.
Posted by InfinitiPartsDeal Specialist 
