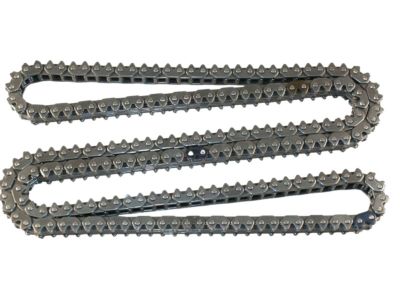
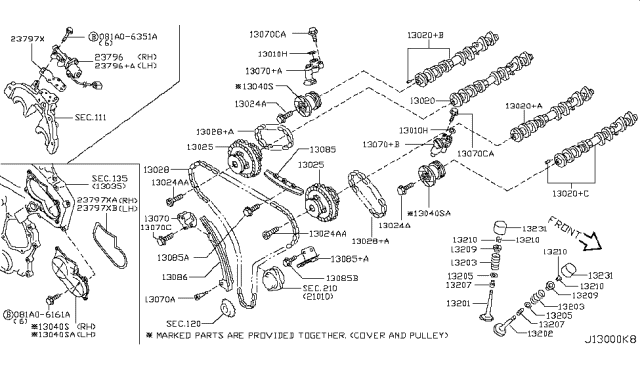
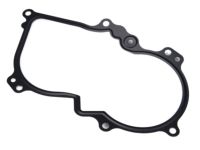
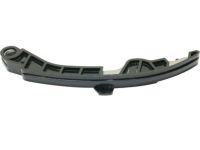
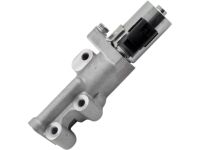
This process is elaborate and should only be carried out by persons who have a lot of experience in such machining jobs and this can only be done when the engine is cool. It is imperative to indicate the detailed interconnection of all the parts before disassembly; the length and position of various bolts; and using the instant or digital cameras for orientation. The first steps would involve the following; you would reduce the fuel pressure in the system and also grounds the negative terminal of the battery. Pull out the engine cover, drive belts, idler pulley brackets, and spark plugs; the piston number one should be at the TDC on compression stroke. Lock the rear wheels, engage the parking brake, securely raise the front end of the automobile on jack stands , and drain the engine and radiator coolant as well as the oil. Disconnect the upper and lower radiator and water hoses, fans, the radiator, crank and air conditioning compressor with its refrigerant lines remaining connected and the upper and lower oil pans. Unless the timing chain rear housing is being taken out for some other reason, just the lower oil pan has to be pulled. Disconnect and partially remove the intake manifold plenums, valve covers, power steering pump without letting out the hoses, fans pulley bracket, and alternator. Remove the variable valve timing sensors from the front timing chain cover and then take off the actuator covers, if the magnet retarder is broken, be careful in separating the covers to avoid damaging it. Pull the wiring harness away from the brackets that are at the top of the timing chain cover, take out the bolts on the front timing chain cover and make sure that the number one piston is still at the TDC. Loosen the stress on the main timing belt, then fasten the tensioner and set it aside with the tensioner arm and the timing chain sprockets too. Screw in and lock the secondary timing chain tensioners, take out the camshaft sprocket bolts, release the primary timing chain and scribe the camshaft sprockets. Check for wear on the camshaft, water pump, crankshaft sprockets as well as the chains and the chain guides. Crank the engine to see if there is some opposition at the crankshaft in which case you would need to fix it. Check the correct timing chains by counting the links, and it is advised to compare the new chains with the old ones. If secondary tensioners were removed, reinstall new ones, adjust camshafts as required, and install the secondary timing chains and sprockets. Ensure correct nomination of the colored links and fit the primary timing chain so that timing marks fit. Before tightening the upper timing chain guides; primary tensioner arm, and the timing chain tensioner assembly you need to ensure that number one piston is still at TDC. Torque cam sprocket bolt to 17 ft. lbs., remove old sealant from front CHNG time chain cover, and replace with new O-rings at variably valve timing oil control orifice. Cohesively spread RTV sealant on the sealing surface of the timing cover, align the front timing cover and put the various bolts in their rightful positions. New O-rings should be placed in the VVT orifices while the actuator covers should be correctly positioned before the bolts are tightened while the RTV sealant is applied. To reinstall the sealant, complete the level in the reverse order in which the components were removed, but in accordance with the manufacturer's guidelines on assembly and cure time of the sealant. replace the oil filter, top up the crankcase with oil and the radiator with water, or antifreeze as the case may be. Lubricate the engine, scanned for any leakage, and if needed do a computer relearn then try to listen for a strange sound or vibration of the engine.
Posted by InfinitiPartsDeal Specialist 
